

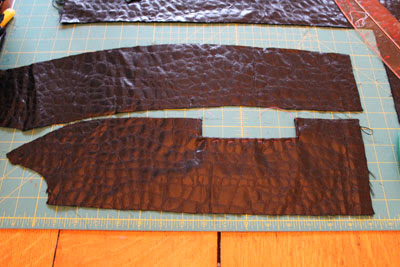
The Ziggi jacket from Style Arc features two exposed zipper pockets. These pockets are not positioned exactly in the center of the princess seams, but are right up against the princess seams. (This is why I call these "Near-Seam" Pockets, rather than "In-Seam" Pockets.)
The instructions that come with the pattern don't exactly tell you how to create these pockets. Or maybe they do, but I am a visual person and the written steps are difficult for me to parse. I tried, but could not understand them.
Luckily, I know how to sew. ;)
So, I decided to make a little tutorial, thinking that others might find it useful. These are great pockets and could be easily added to any jacket. They could be vertical, or angled. While my photo-tutorial outlines how to make these pockets for the Ziggi, these steps could easily apply to other patterns.
(Note: sorry, in advance, about the dark-ish pictures. When sewing on a dark fabric, with dark zippers, often in the dark, or on a dark day... Well, you know.)
The pattern calls for 6" (14cm) pocket zippers but, when I measured the notches on the pattern, they were a bit over 4". I purchased four 5" metal YKK zippers from Britex - the other two are for the sleeves. You can use a different length zipper, just adjust the window opening and the Pocket Bag/Pocket Facing pieces accordingly.
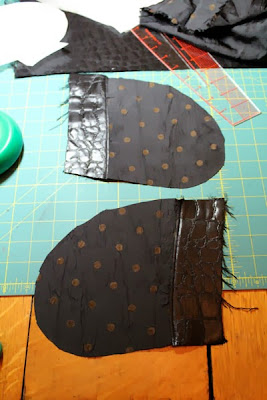
The pocket window is actually created on the Side Front (pattern piece #4). You need to create a three-sided window opening. (The fourth side happens when the Side Front is sewn to the Middle Front, #3.)
To create the window, you need a facing. There is no pattern piece included for the facing, but it is very easy to create. You could create the window directly onto a piece of lining fabric, but I am showing how to create it first on a piece of paper.


I don't have pics for the next couple of steps, but you sew the pockets to the seam allowances of the jacket, so that they are positioned properly. Make sure that the pocket is pointing towards center front. Then stitch around the pocket bags. The pocket bags don't line up completely. Again, don't stress over this. After stitching around the pocket bag, just trim off the extra width.

(And thanks, everyone, for your lovely comments on my Burda coat!)